Wordpress Plugin Installation
How to Install and Configure the Botgenuity WordPress Plugin
Introduction
The Botgenuity WordPress plugin is a powerful tool that allows you to seamlessly integrate the Botgenuity Chatbot Widget into your WordPress site. Unlike other plugins, the Botgenuity WordPress plugin is not available in the official WordPress plugin directory. This guide will walk you through the simple steps to install the Botgenuity WordPress plugin on your website.
Step 1: Download the Botgenuity Plugin Archive
To begin, you'll need to download the plugin archive. This is a straightforward process that can be done by clicking on the following link. Once you've clicked on the link, the plugin will be downloaded as a ZIP file onto your computer.
Step 2: Navigate to the "Plugins" Section in Your WordPress Dashboard
After successfully downloading the ZIP file, return to your WordPress admin panel. From the sidebar menu, select "Plugins", then click on the "Add New Plugin" button.

Step 3: Upload the Botgenuity Plugin Archive
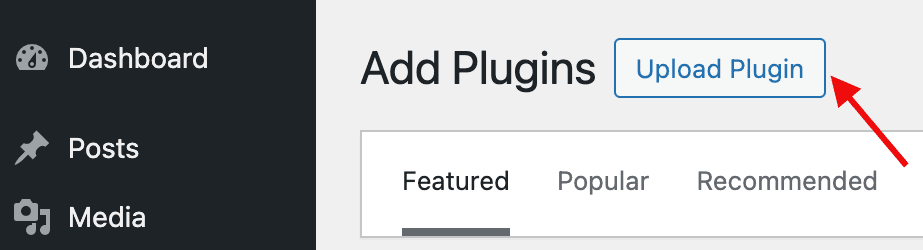
Next, click on the "Upload Plugin" button located at the top of the page.
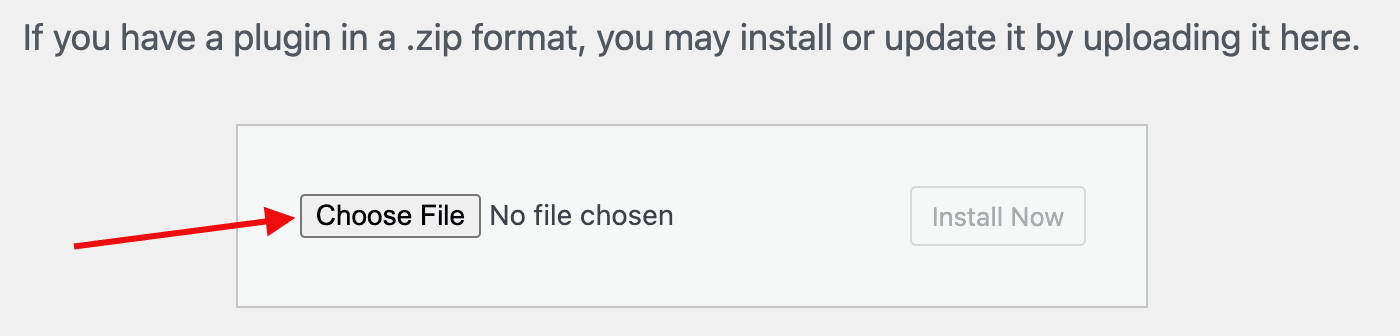
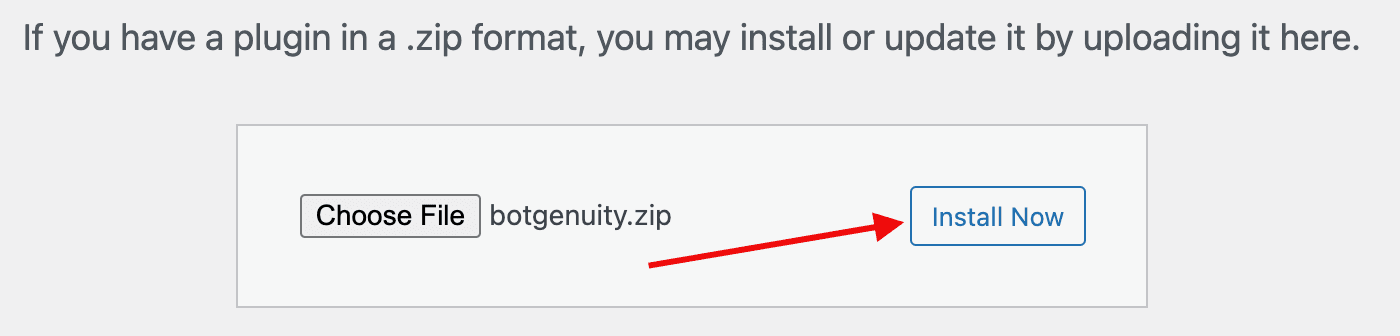
You'll then be directed to a new screen where you can upload the Botgenuity plugin's ZIP file directly to your WordPress site. Simply select the ZIP file from your computer and confirm the upload by clicking on "Install Now."
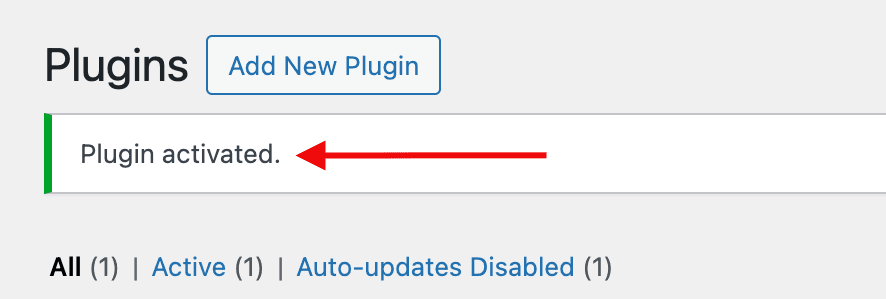
Step 4: Activate the Botgenuity Plugin
Once WordPress has completed the installation process, the final step is to activate the Botgenuity plugin.
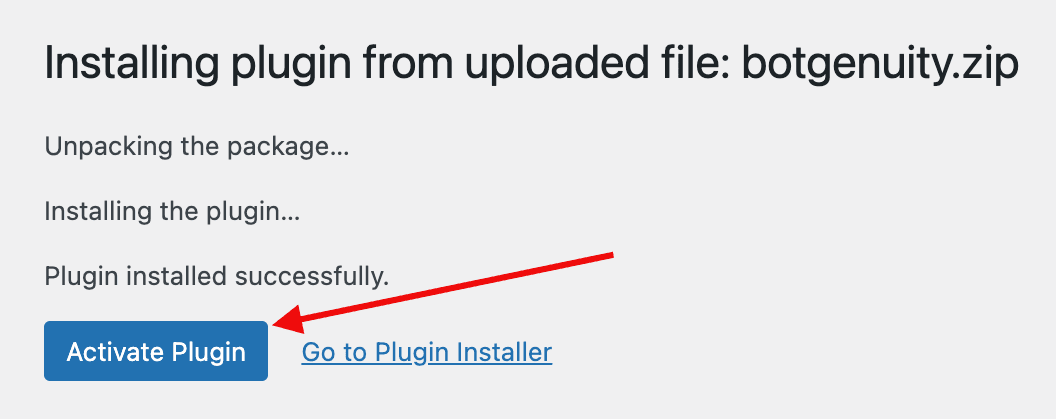
After activation, the Botgenuity plugin will be live on your site and ready for use.
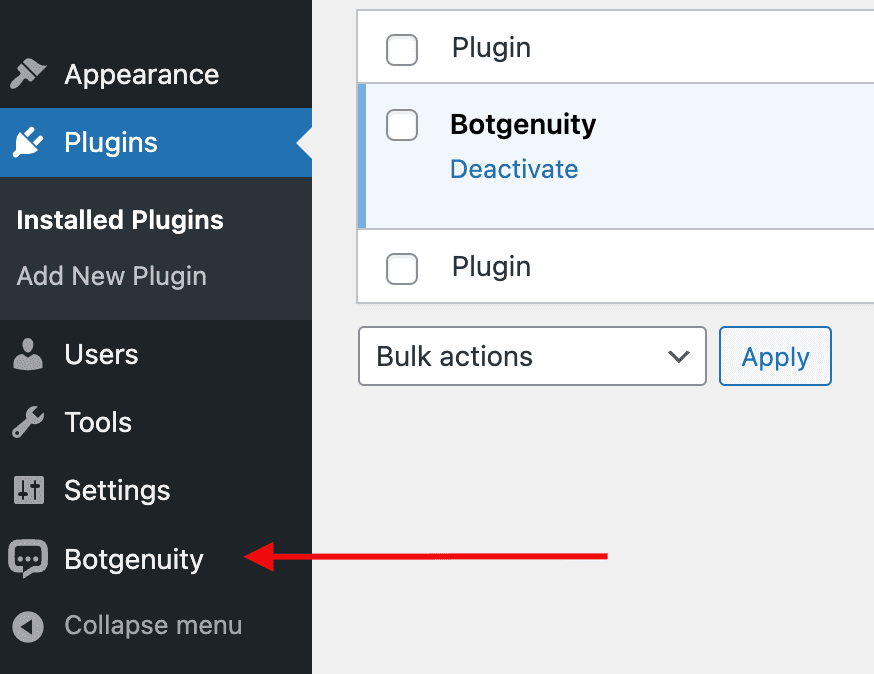
Step 5: Configure the Botgenuity Plugin
After activating the Botgenuity plugin, you'll need to configure it to work with your specific site. To do this, navigate to the plugin settings page by clicking on the Botgenuity item located in the left sidebar menu of your WordPress dashboard.
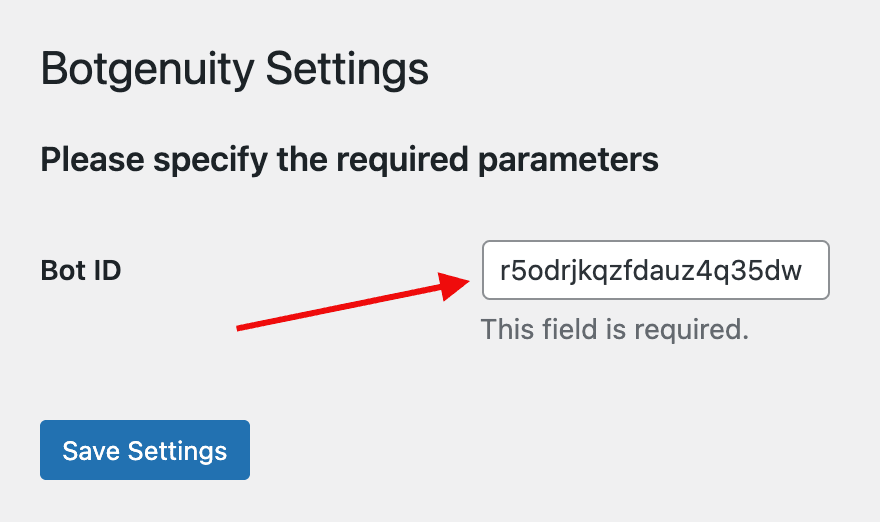
On the settings page, you'll see a field labeled 'Bot ID'. This is a unique identifier for your chatbot and must be set for the plugin to function properly.
To find your 'Bot ID', go to the Chatbot 'Integrations -> Wordpress' page on your Botgenuity account. Here, you'll find the Bot ID value. Copy this value and paste it into the 'Bot ID' field on the settings page.
Once you've entered your Bot ID, click 'Save Settings' to finalize your configuration.
Congratulations! You've successfully installed the Botgenuity WordPress plugin. Now, you can enjoy the benefits of the Botgenuity Chatbot Widget on your WordPress site.